Fun Paper Lobster Craft for Kids
Lobsters are fascinating creatures with their claws, legs, and long antennae, and now you can bring them to life with this delightful paper craft!
This 3D lobster is simple, quick, and perfect for kids or beginners looking to have some fun with art.
Gather your materials and let’s get crafting!
But first …
Cool Lobster Facts for Kids
Lobsters Can Regrow Their Claws and Legs
If a lobster loses a claw, leg, or antenna, it can grow it back over time. This process is called regeneration, and it’s one of the reasons lobsters are so amazing!
Lobsters Have Blue Blood
Unlike humans, who have red blood because of iron, lobsters have blue blood because it contains copper. This helps them survive in the cold ocean waters.
Lobsters Can Live a Long Time
Lobsters are one of the longest-living sea creatures. Some lobsters can live over 50 years in the wild.
Now let’s dive in to the craft….
Materials You’ll Need:
- A square sheet of colored paper (red, orange, pink, or any color you like)
- Scissors
- Pencil
- A pair of googly eyes
- Glue, glue stick, or double sided tape
Steps to Make Your Paper Lobster
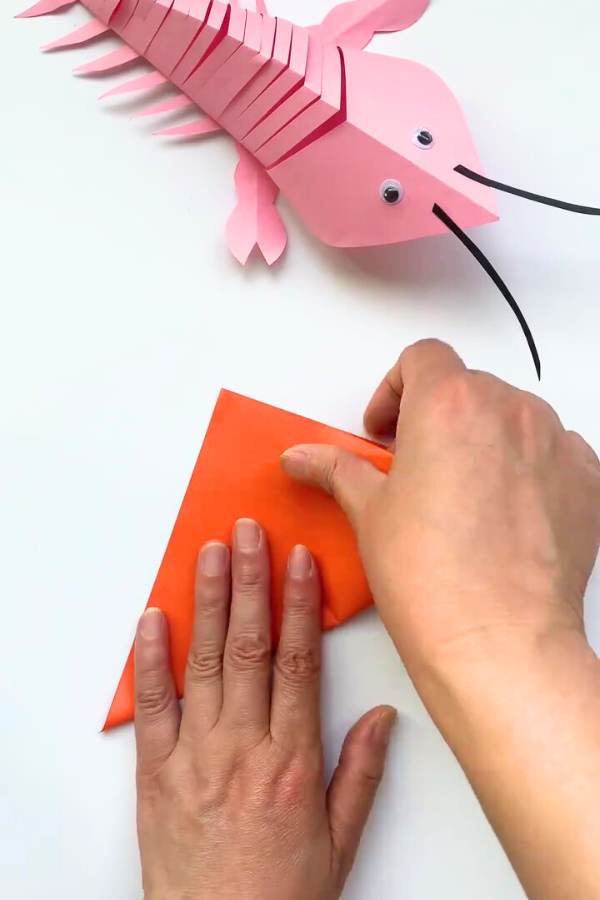
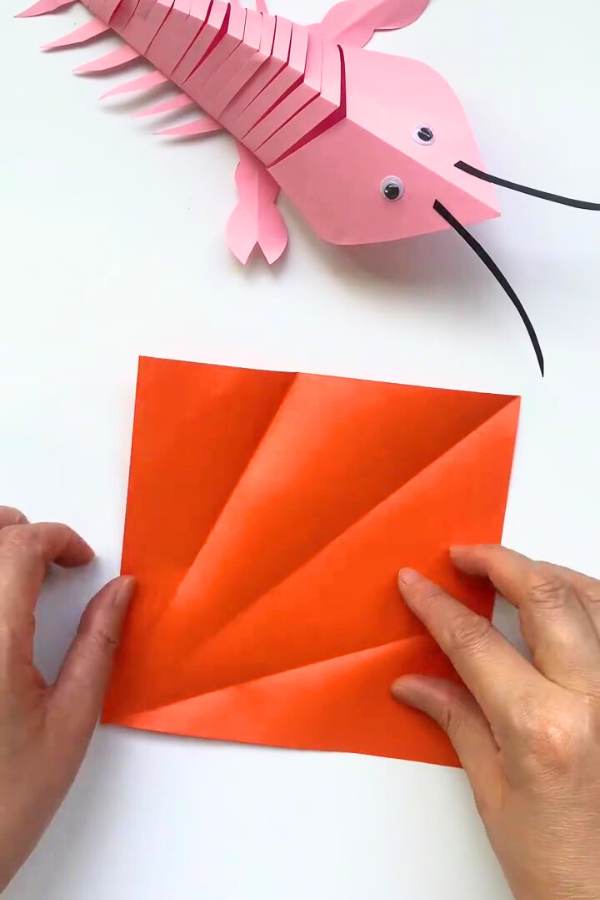
Step 1: Prepare the Paper Base
Start by selecting a square piece of colored paper (around 8×8 inches works well). Fold it diagonally to form a triangle.
Open the paper, and fold each “flap” again in half to make a smaller triangle as shown:
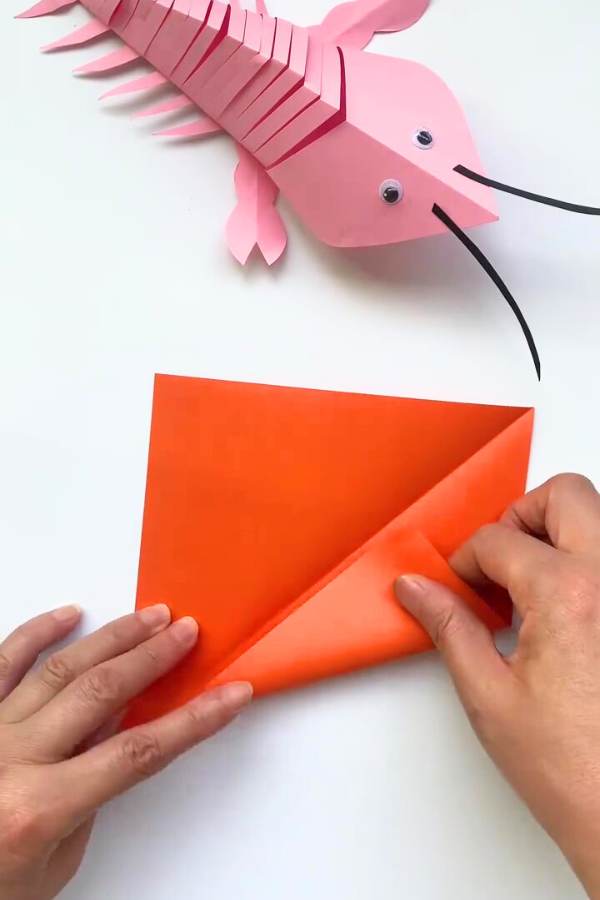
Unfold the second fold so the triangle returns to its original shape with a crease down the middle. This creates the foundation for your lobster’s body.
Step 2: Shape the Lobster’s Body
On one side of the folded triangle, draw two curved lines that meet in the middle, creating a pointed shape (similar to the top of a heart shape). Cut along the drawn lines with scissors.

At the bottom of the triangle, make seven evenly spaced vertical cuts, stopping at the middle crease.
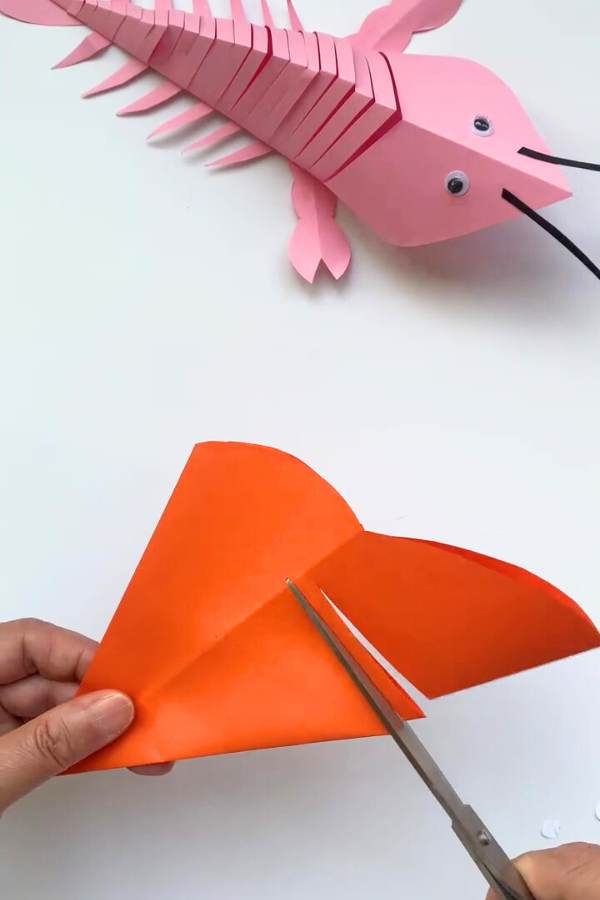
These cuts will form the segments of the lobster’s body.
Step 3: Open and Fold the Paper
Unfold the paper completely to reveal a diamond-shaped design with segmented cuts. Fold the top and bottom sections back along the creases you made earlier, keeping the middle segment flat.
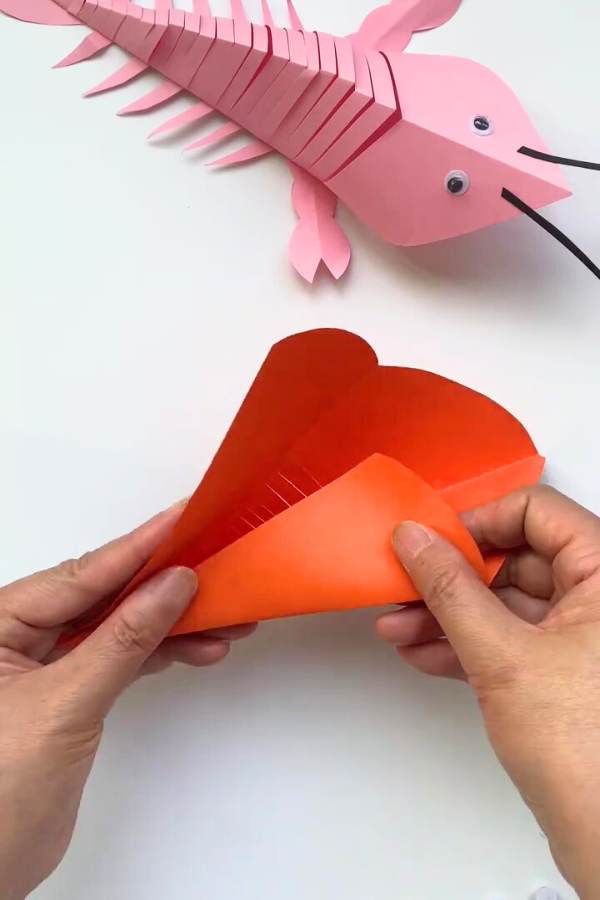
This forms the foundation of your lobster’s body, with space to add legs and other details later.
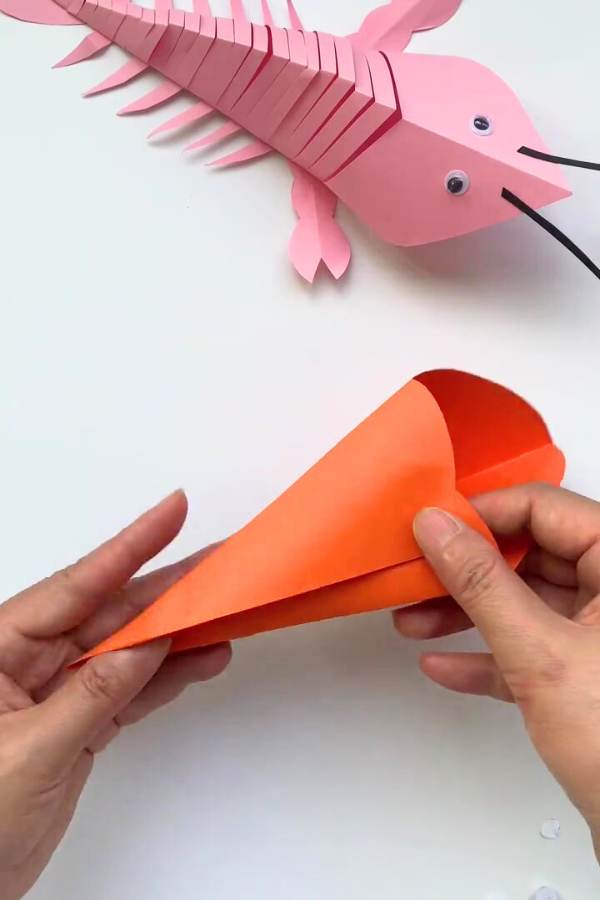
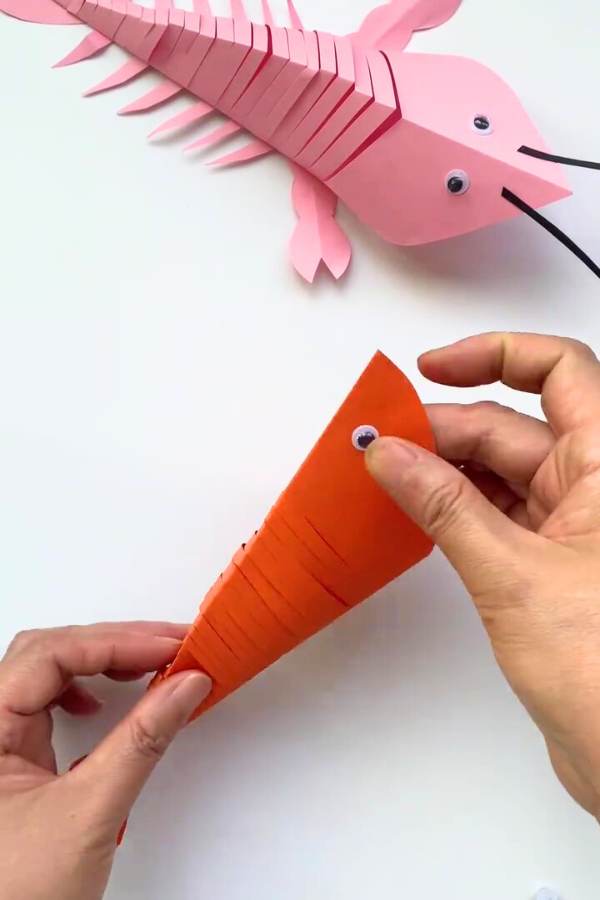
Step 4: Assemble the Body Base
Apply glue along the folded edges at the top and bottom. Press these edges together firmly to form a three-dimensional body.
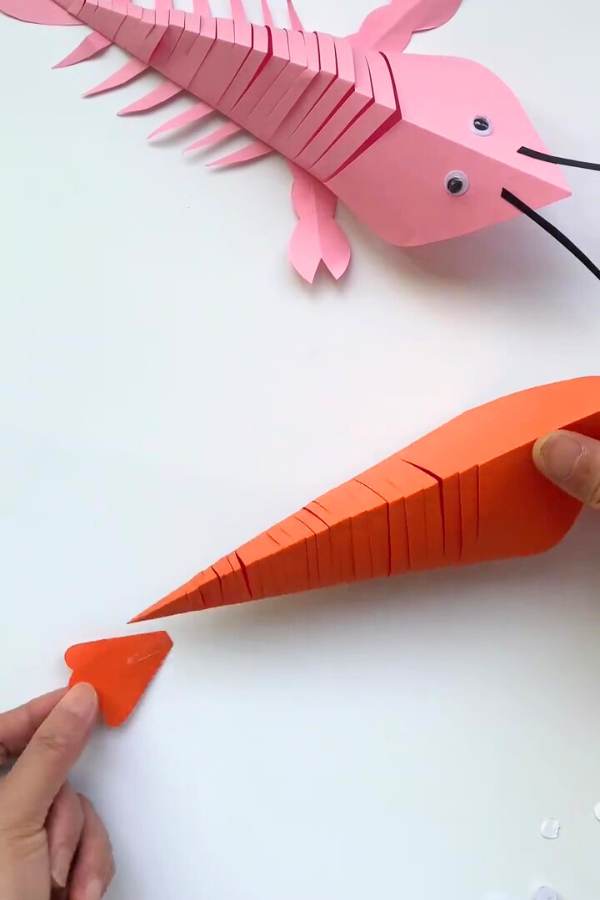
Step 5: Craft the Lobster’s Tail
Using another piece of paper of the same color, cut out a tail shape and glue it to the base of the lobster’s body as picture:
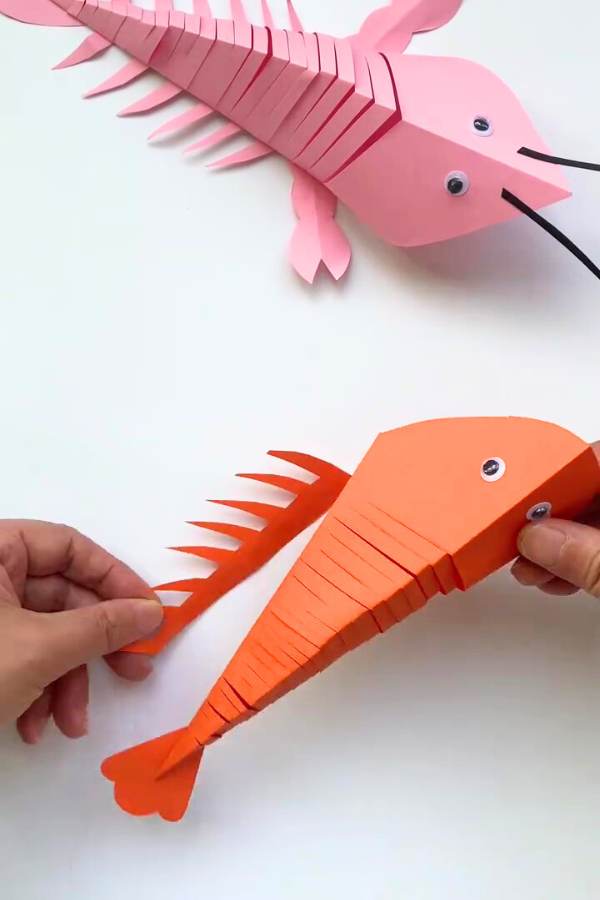
Step 6: Add Eyes, Legs, and Claws
Eyes: Glue a pair of googly eyes just below the antennae for a cute and playful look.
Legs: Cut two long strips of paper, and trim one side of each strip into a scalloped or ribbed shape, forming multiple small “legs.”
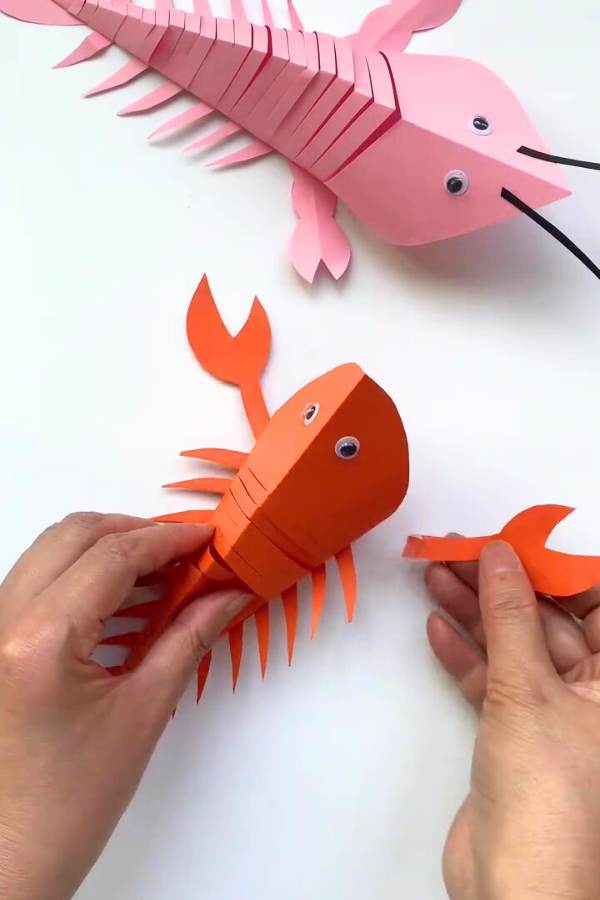
Claws: Draw and cut out two claw shapes from the same colored paper. Ensure the claws are large enough to stand out as a key feature of the lobster.
Step 7: Add Antennae
Cut two thin strips from black paper or use black craft wire to create the lobster’s long, graceful antennae, and glue them to the head.

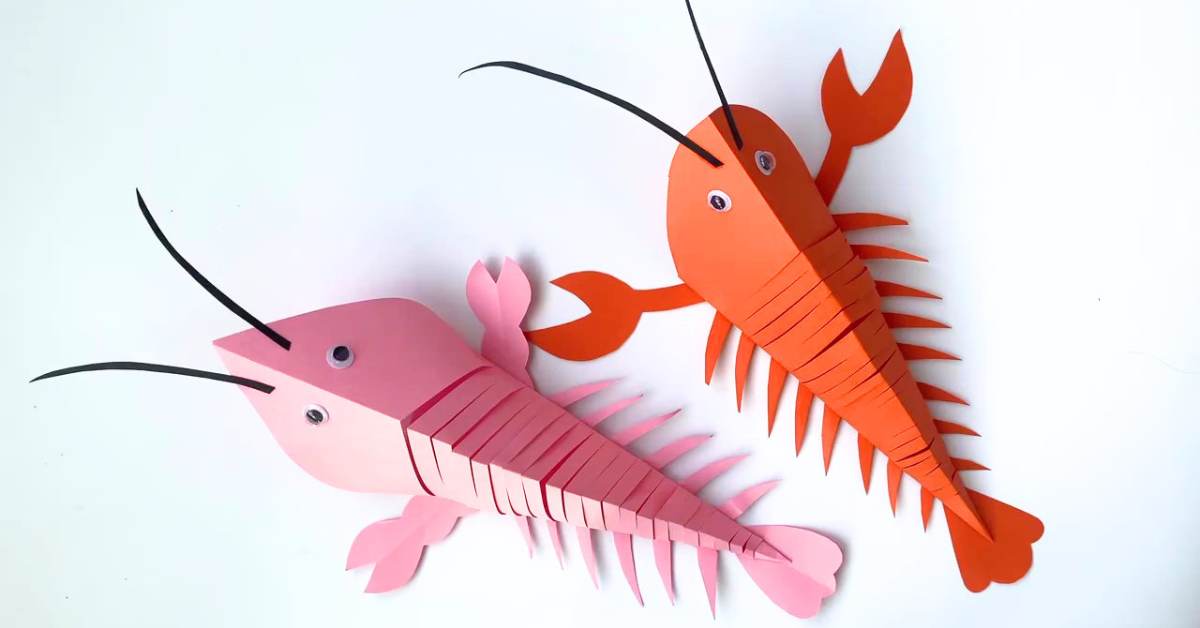
Your Lobster Paper Craft is Ready!
Congratulations! Your 3D paper lobster is complete. You’ve created a fun, vibrant piece of art that can be used as a decoration, school project, or even as a toy.
Try making more lobsters in different colors to create a whole underwater scene!